Features
Behind the image: “Night at the Monastery”
Some places stay with you long after you first see them in a photograph. Ever since I saw this image on social media about a year and a half ago,…
 By Julio Castro6 min read
 PLANNING
Some places stay with you long after you first see them in a photograph. When I saw this image on social media about a year and a half ago, I knew I had to visit and bring my own perspective to this fantastic location.
For the all-too-familiar reasons associated with the coronavirus pandemic, however, I could not visit until mid-July 2020.
For this little adventure, I joined two of my regular companions, Carlos Fornos and Felipe Souto, on a one-night trip from Galicia to the Monastery of Nuestra Señora del Risco in the province of Ávila.
Our first challenge was to work out how far we could drive. Google Maps showed a dirt track leading from Amavida to the monastery, in the heart of the Amblés Valley.
Start of the track to the monastery
After a while, the dirt track became rougher, with many potholes and rocks. Although we had an SUV, we decided to park and continue on foot.
Approximate location where we parked
We continued walking and, after passing a small wood, took a signposted left turn towards the monastery.
Location of the uphill turn towards the monastery
The path climbed gently for around 500 metres, and we soon reached the ruins.
This former Augustinian monastery dates from 1504 and was an important ecclesiastical centre in the late Middle Ages. It had a church, cloister, monks’ quarters, lookout, cultivated terraces, pilgrims’ accommodation, stables, storerooms and a good network of water supplies and access tracks.
Today, only the bell tower, the former church’s entrance arch, part of the apse hidden by vegetation, and remnants of the walls remain standing.
For our photographs, we went above the monastery, where only the bell tower was visible and the other ruins were hidden below it.
Location from which I took the photographs
TAKING THE PHOTOGRAPH
First, we looked for the best way to light the bell tower. The access and staircase were surprisingly well preserved, so getting up was straightforward.
We decided to illuminate it with small light boxes called Little Magic Box, handmade by fellow photographer Miguel Gómez (http://www.miguelgomezphoto.com/blog/) and configurable with different-coloured LEDs and adjustable brightness.
We chose an orange LED to give the tower a warm glow at low power. When shooting at such high ISO settings, very little light is needed.
Images of the Little Magic Box
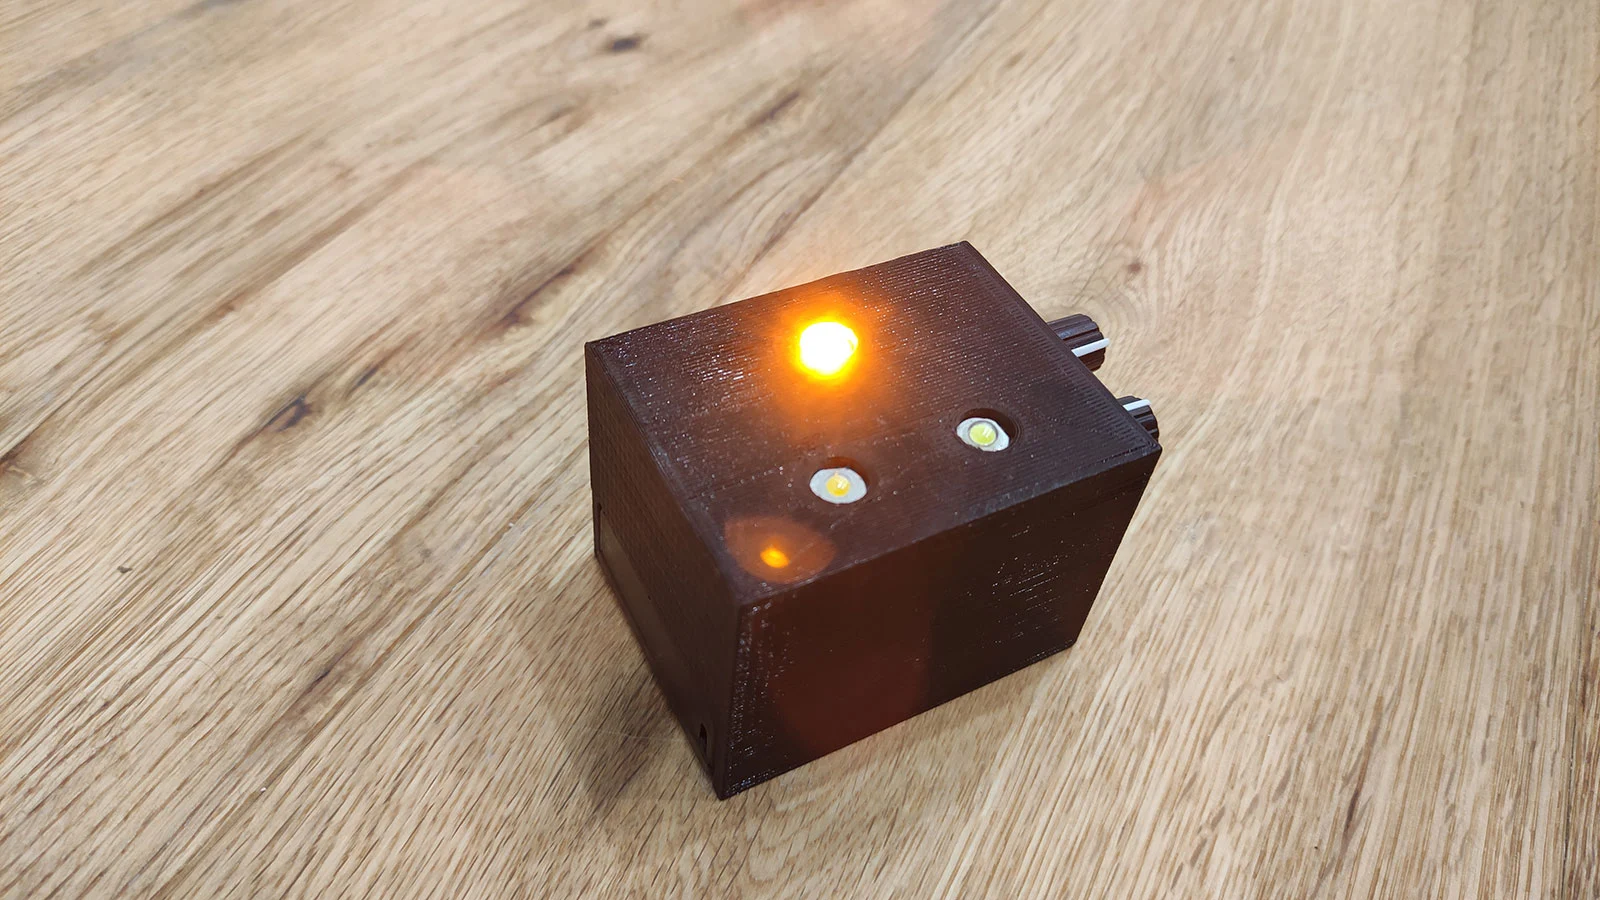
The orange lighting we used
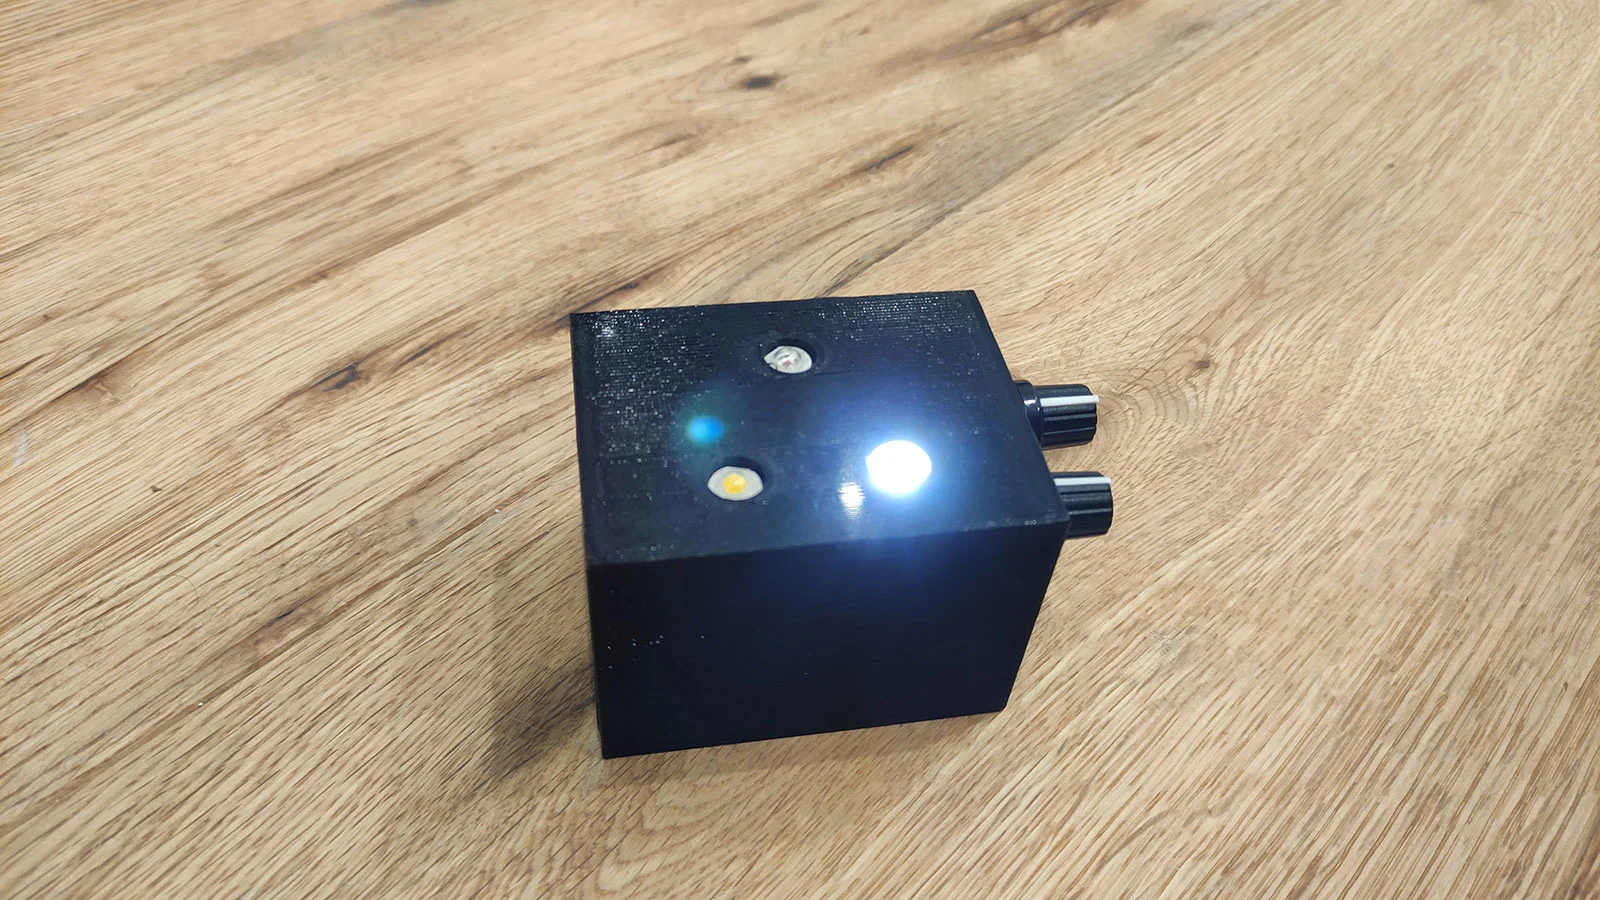
White LED light
Once the tower was lit, we started shooting immediately. At that time of year the Milky Way was already high when it rose, so we needed two-row panoramas to capture its complete arch and the foreground.
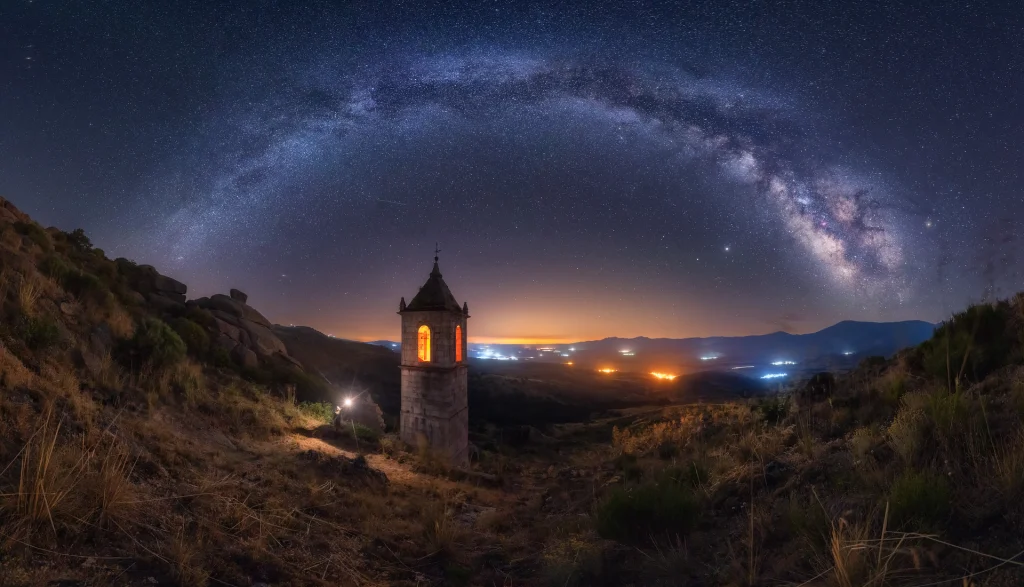
The classic composition here is a panorama with the bell tower directly beneath the centre of the Milky Way’s arch. I wanted my own perspective, showing the tower from the side to give it depth and placing it on the right.
The drawback was that the composition felt weighted to the right, so I decided to include myself, posing with a Mini Maglite torch with its head removed to expose the bulb.
This was my first photograph of the location: a panorama of 12 vertical images at 14 mm, arranged in two rows of six. I posed only in the frames needed to ensure the panorama would stitch correctly.
Panorama frame layout and finished photograph
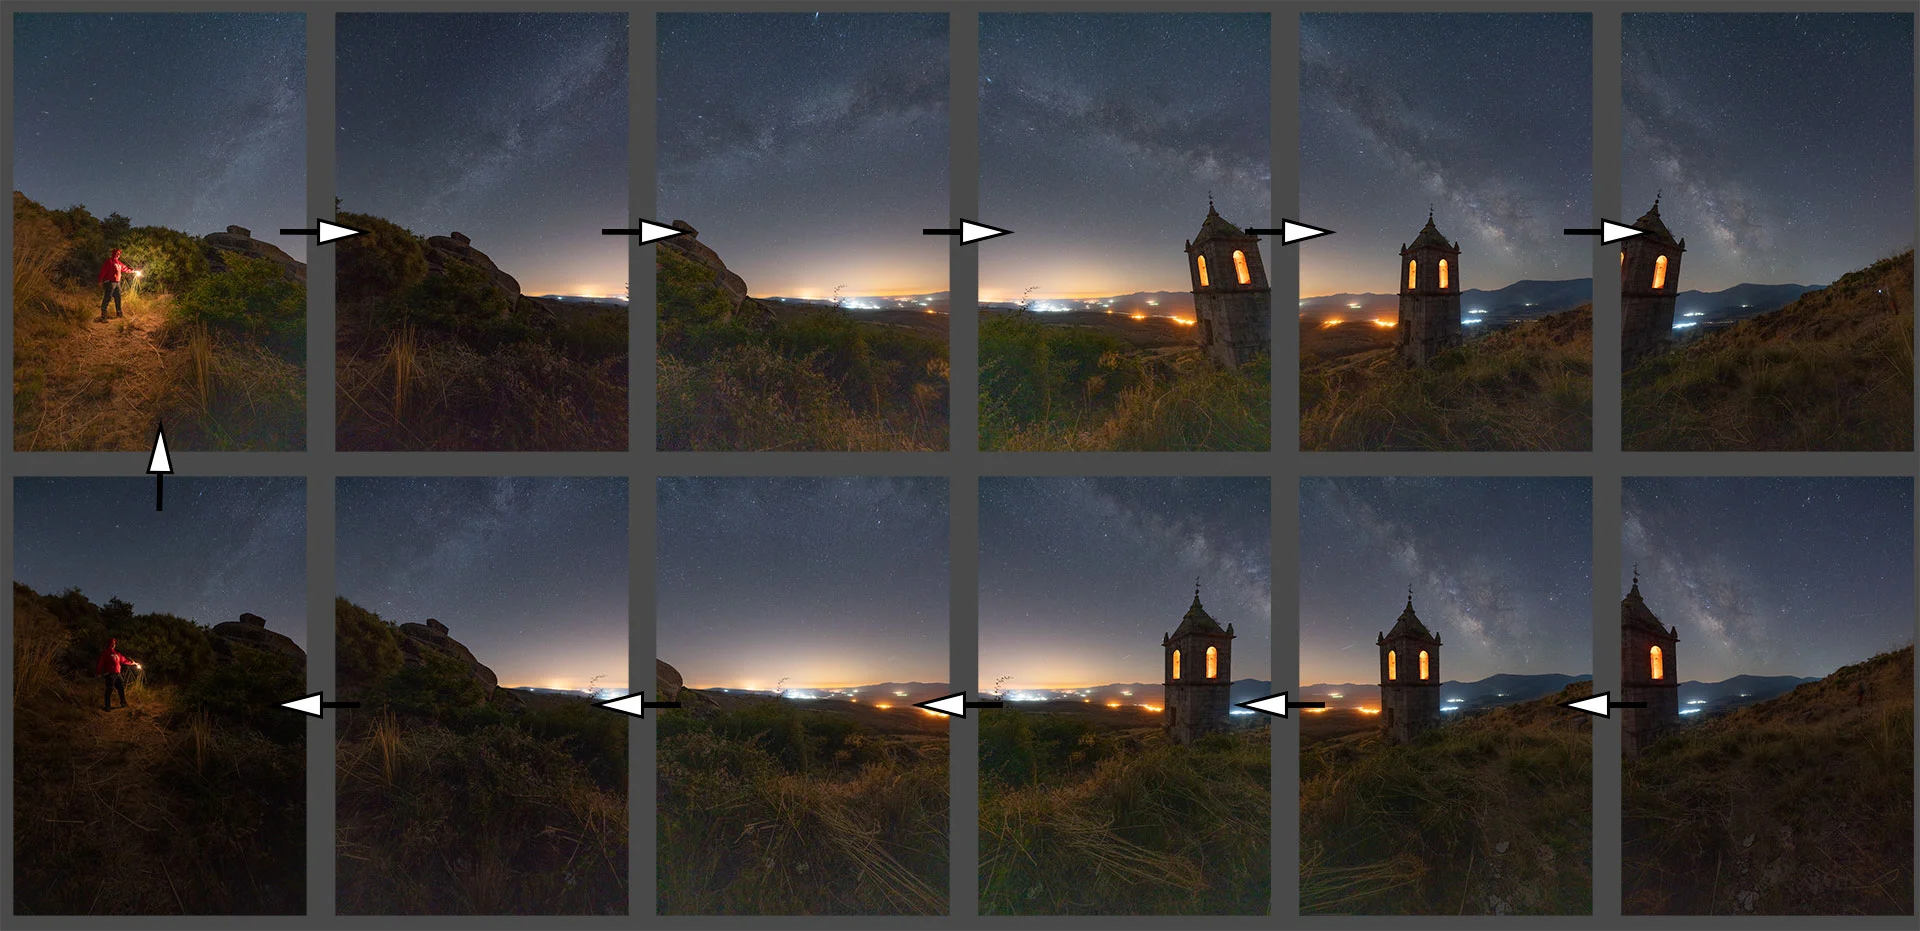
Panorama layout
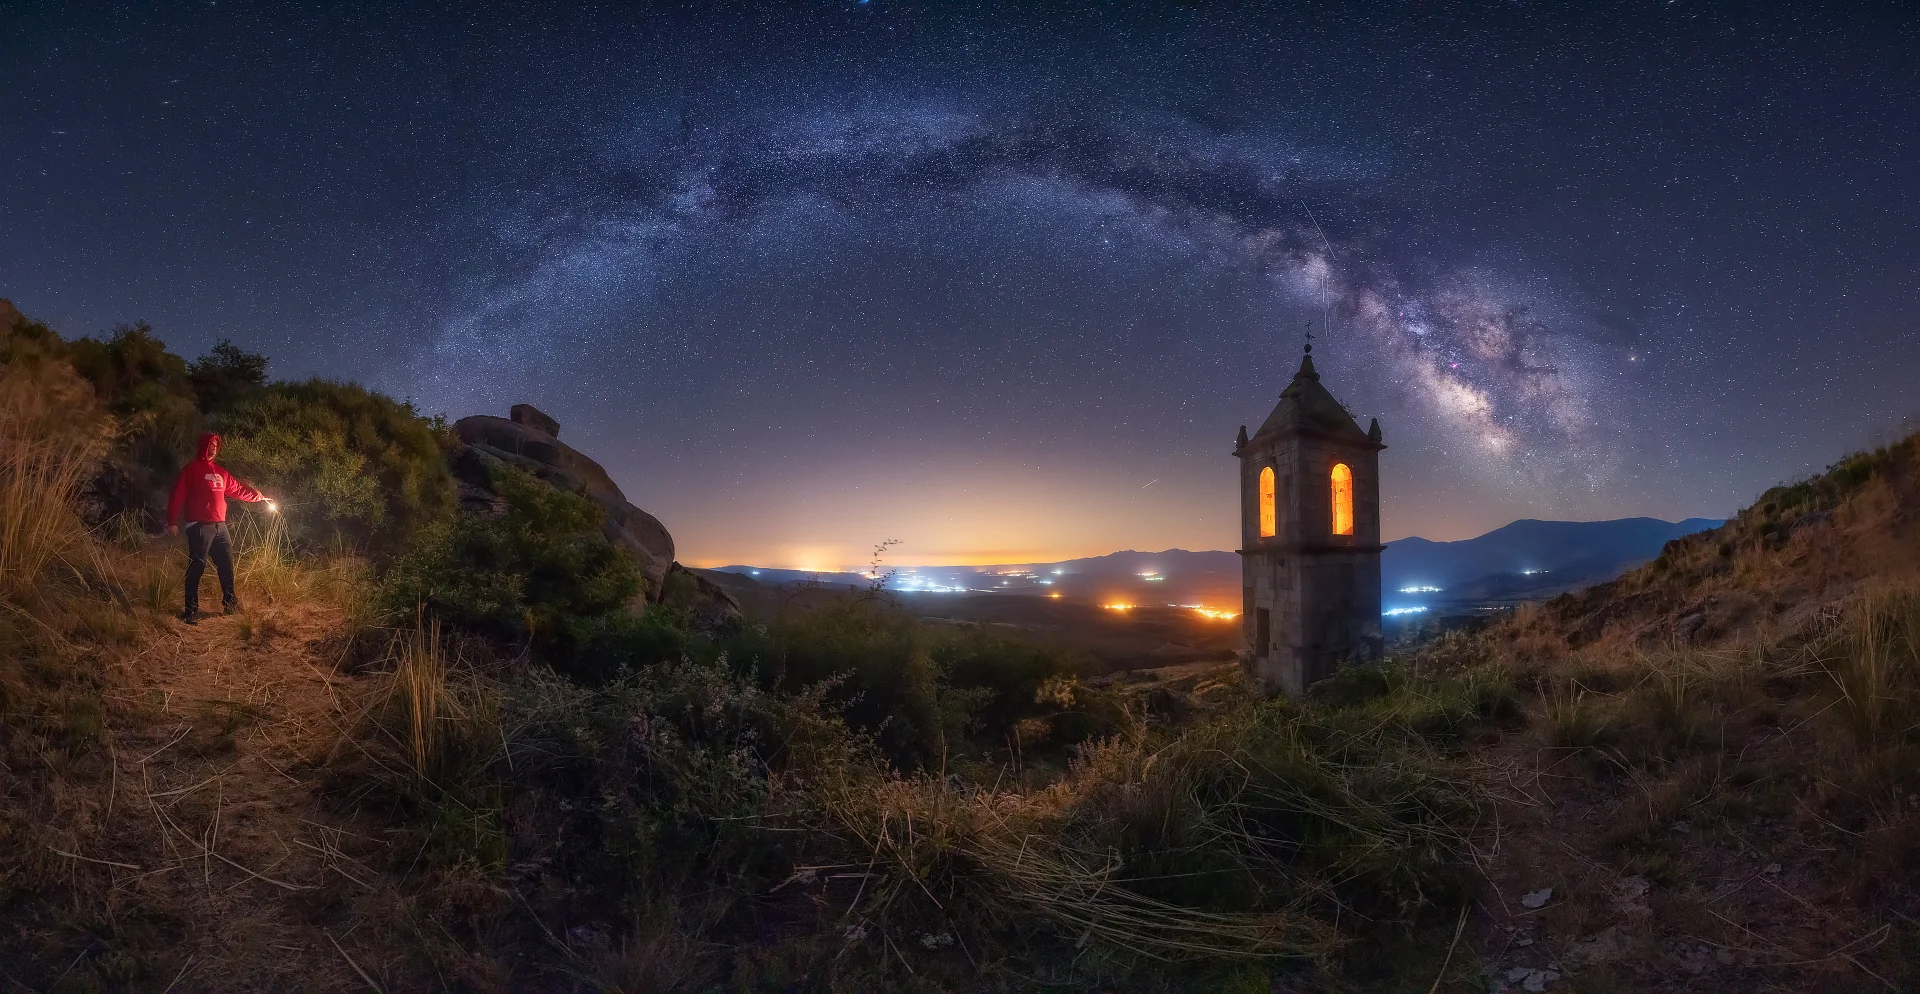
Finished photograph
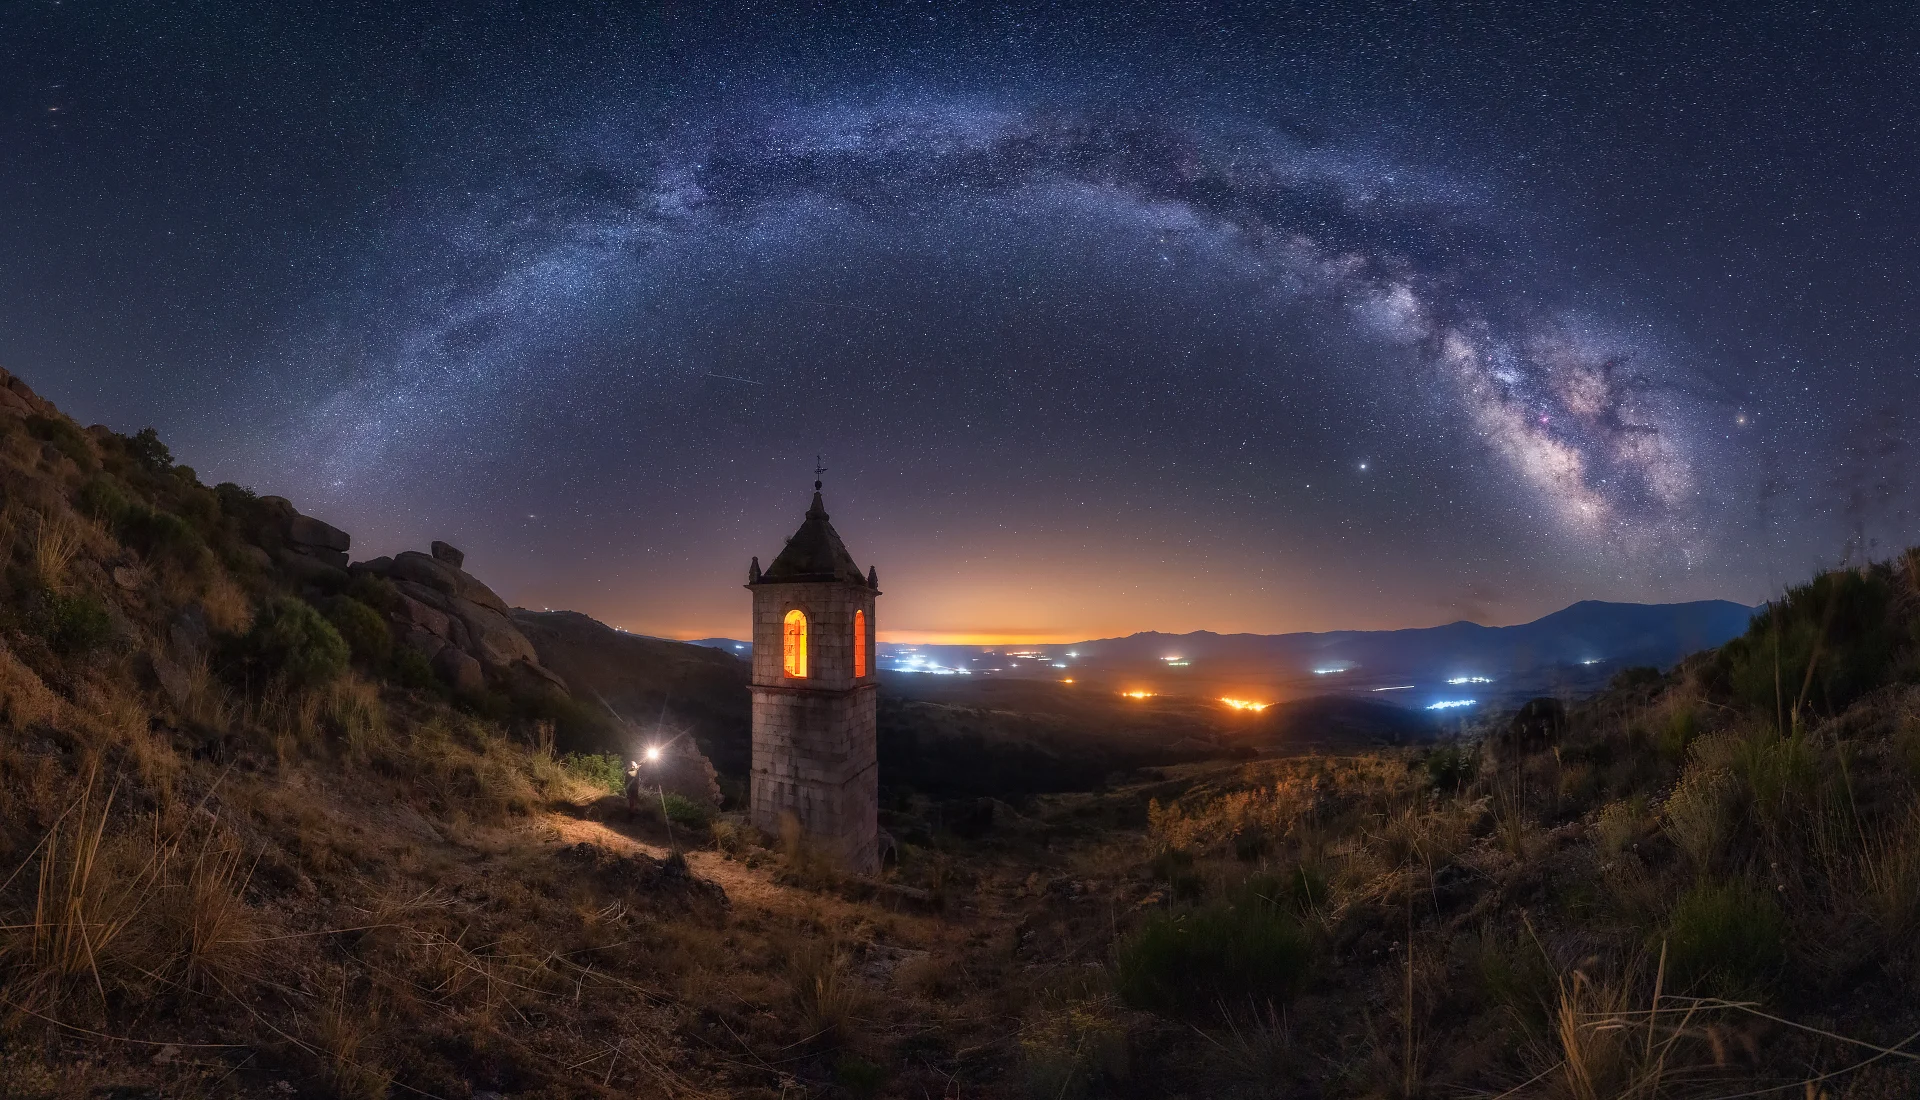
I spent some time trying different compositions with the tower and Milky Way as the main elements. For the image featured here, I moved to the other side of the tower and a slightly higher position, then shot 14 vertical frames at 15 mm in two rows of seven. When my companion posed with his torch for his own photograph, I included him in the panorama to add another point of interest.
Final result
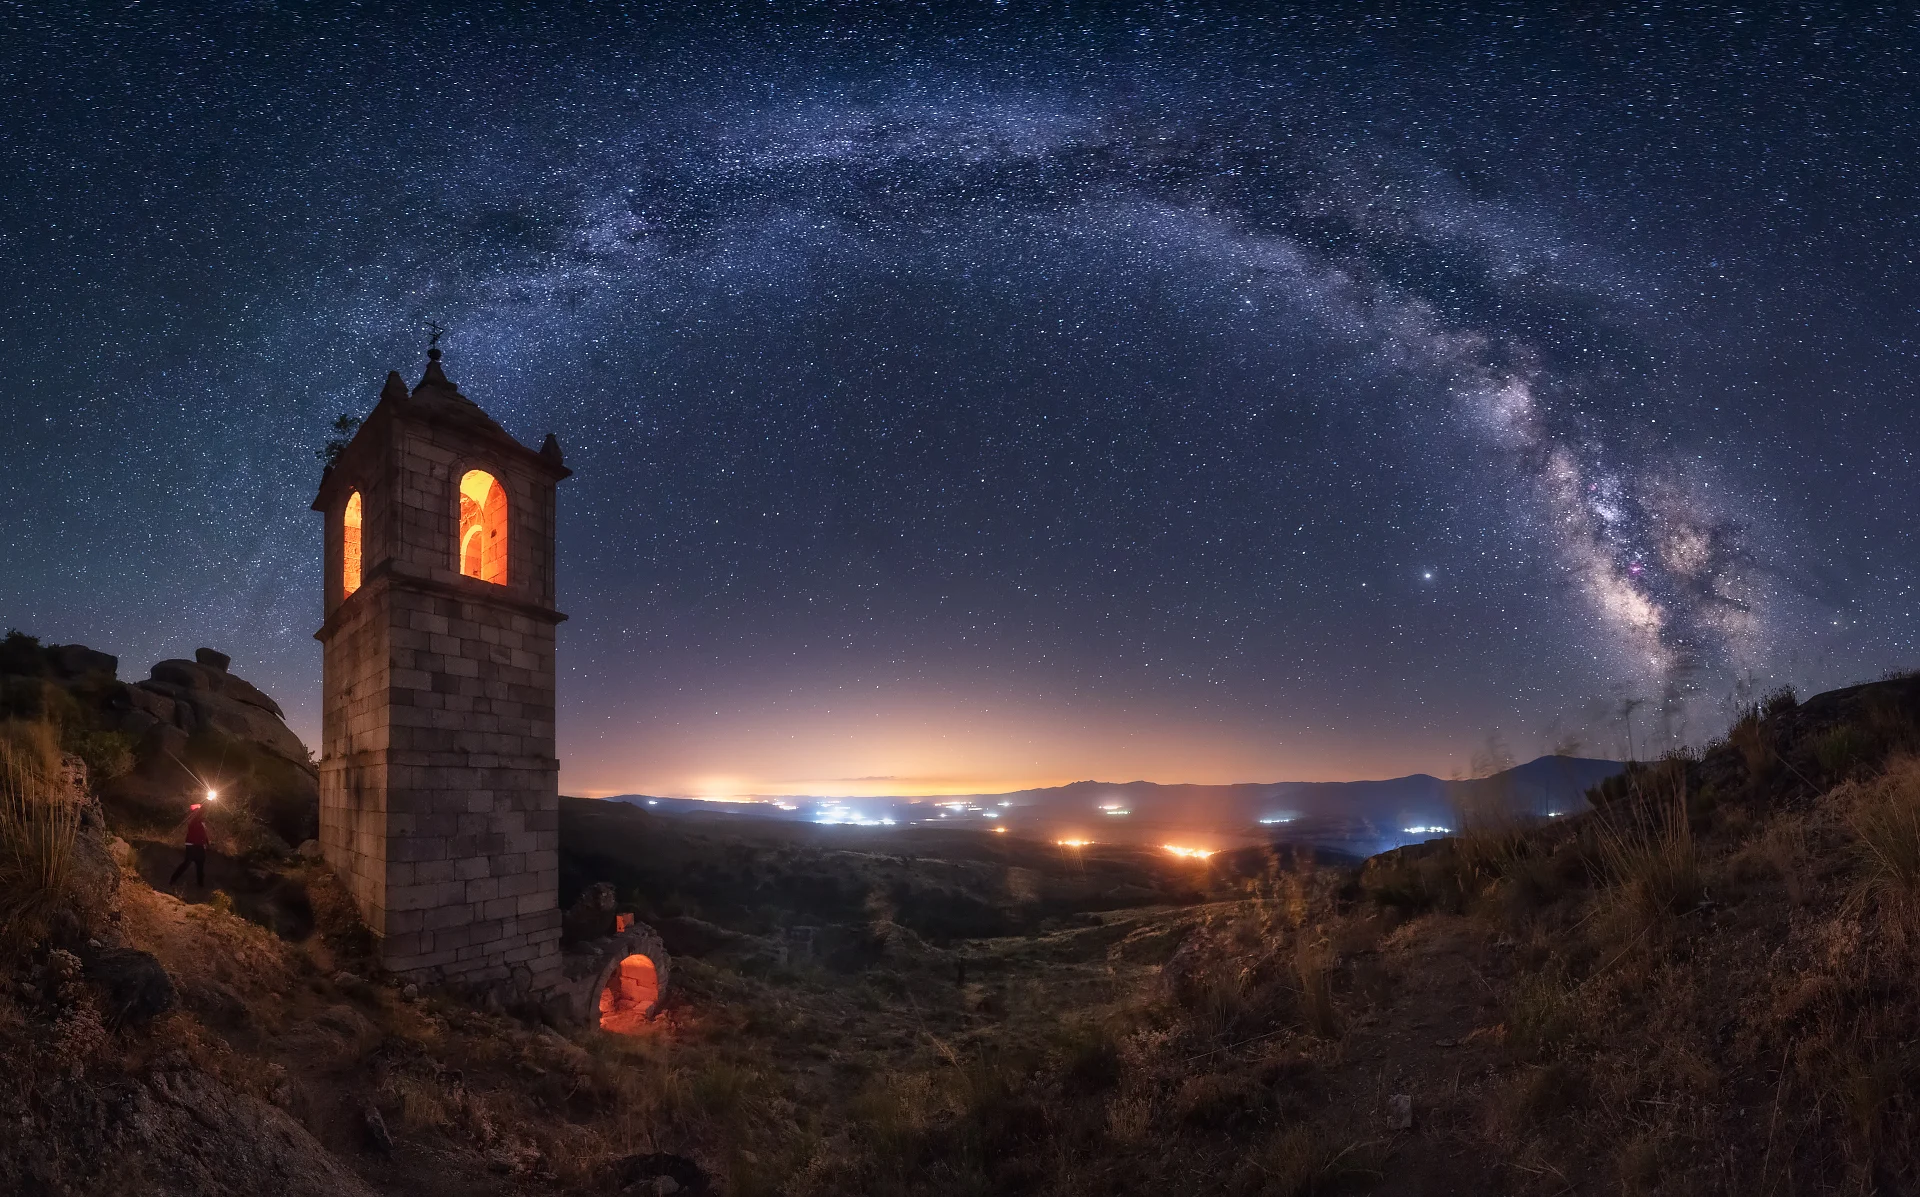
Just before leaving, I decided to make a more extreme panorama from the path descending beside the tower. From there, the surviving church entrance arch was also visible. I lit it with another Little Magic Box using the same settings as the tower.
From that position, I took another panorama of 14 vertical photographs arranged in the same way as before.
Final result
POST-PROCESSING
Let us look at the editing of the second panorama, although the process was virtually the same for all the images.
I stitched the panorama in Photoshop’s Camera Raw and made a basic RAW edit, prioritising a good colour balance and sufficient foreground brightness while reducing the noise caused by lifting the shadows.
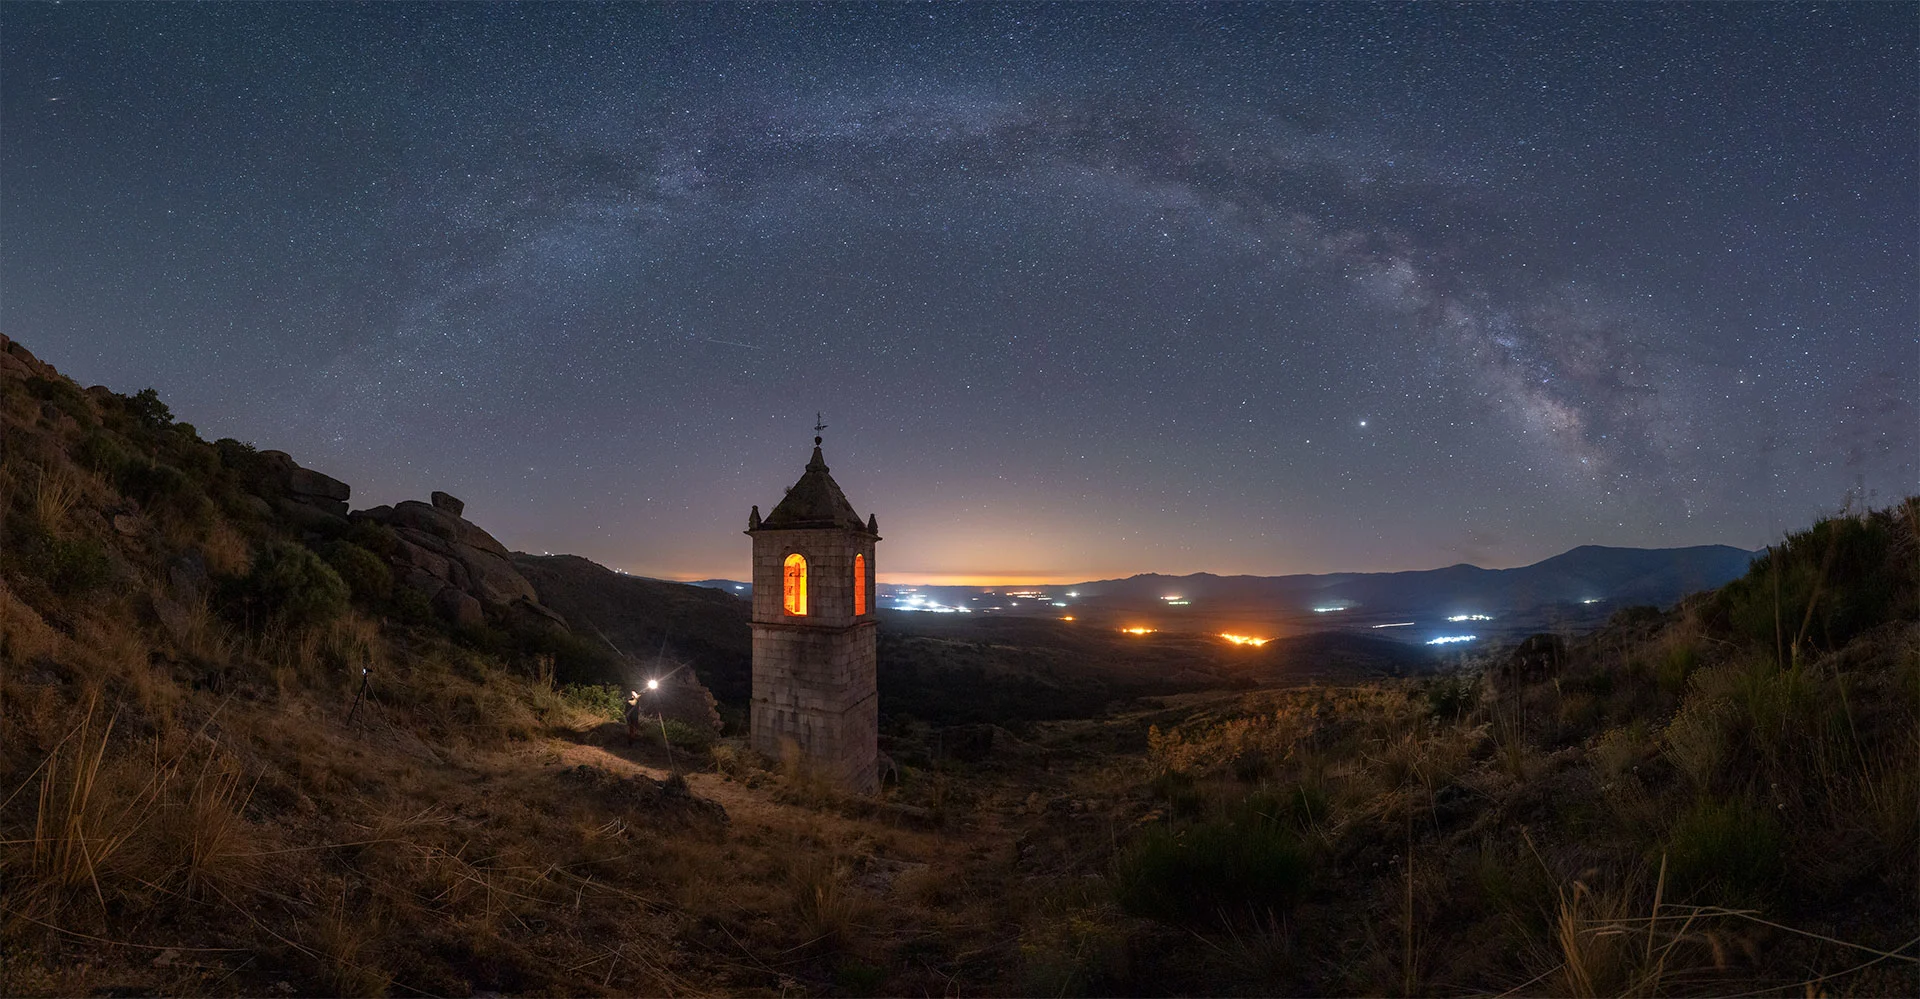
Unedited RAW
In Photoshop, as always when editing the Milky Way, I selected the sky so I could edit it separately from the land.
In the sky, I prioritise the Milky Way, enhancing its colour, contrast and brightness, then doing the same for the rest of the sky.
For the land, my priorities are adequate light without blocked shadows and a pleasing colour balance. I also reduce any noise introduced during editing.
IF YOU WOULD LIKE TO LEARN THE EDITING TECHNIQUES I USED FOR THIS IMAGE, HERE ARE MY NIGHT PHOTOGRAPHY EDITING TUTORIALS: